
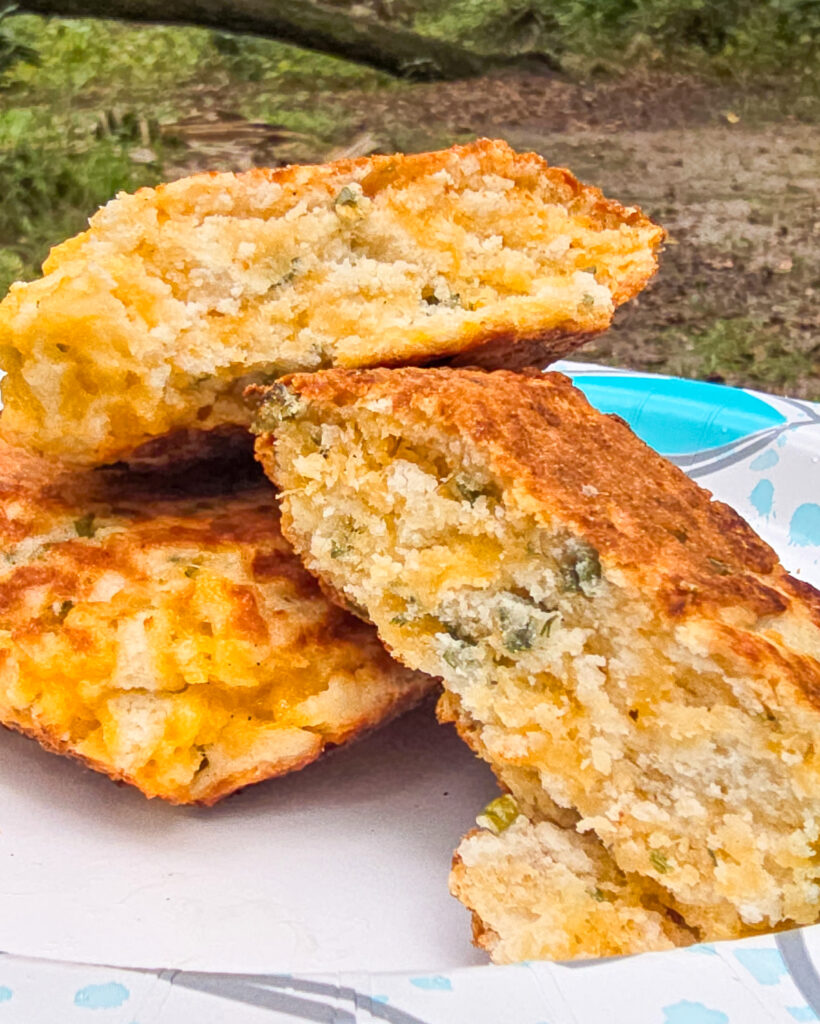
Flaky, cheesy, and bursting with chives, these scones come together right in your campfire pie iron. With just four basic pantry ingredients and virtually zero dishes to wash, you get buttery, warm, bakery-style scones with minimal cleanup required.
This website uses affiliate links. See our Privacy Policy for more information.
Why this recipe is so handy
Almost Zero Cleanup: I prefer to mix this dough in a bowl using a fork, but the dough can also be mixed in a Ziploc bag. Either way, there is little to no cleanup.
Foolproof Rise: Using a pre-packaged baking mix takes all the guesswork out of campfire baking. You get a light, flaky texture every time without carrying baking powder, cold butter, or salt.
Fast Fire Cook Time: Because pie irons seal in heat from both sides, these bake through in roughly 10–12 minutes, making them a fast addition to breakfast or a quick side for dinner.
Tips and Trail Notes
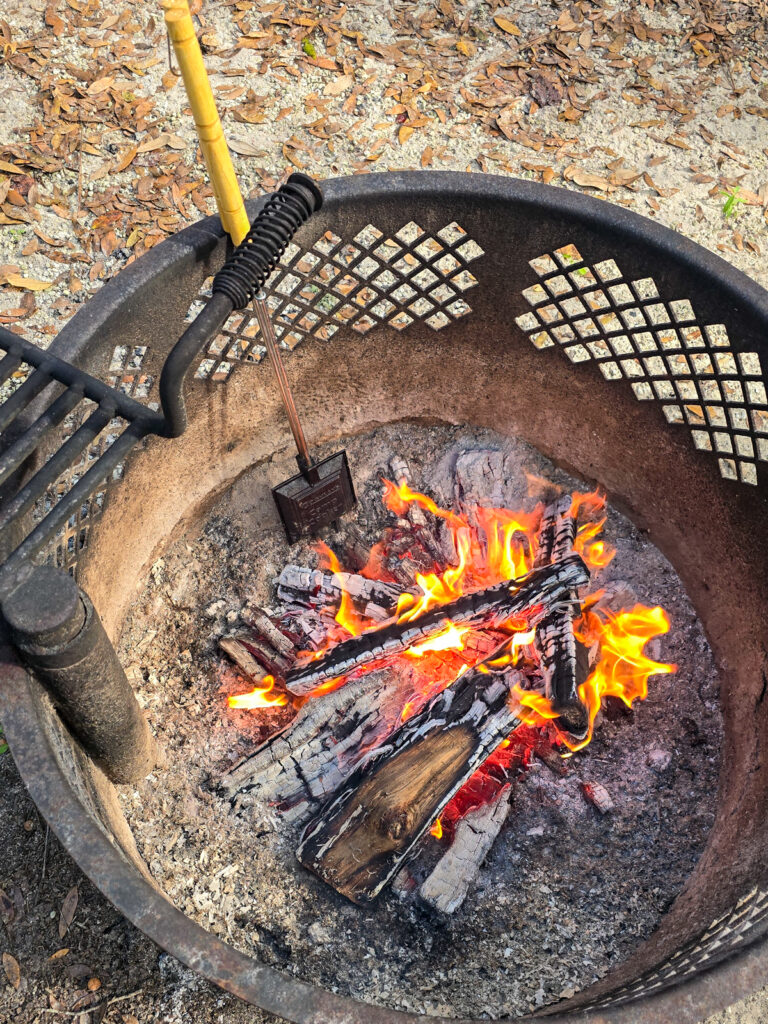
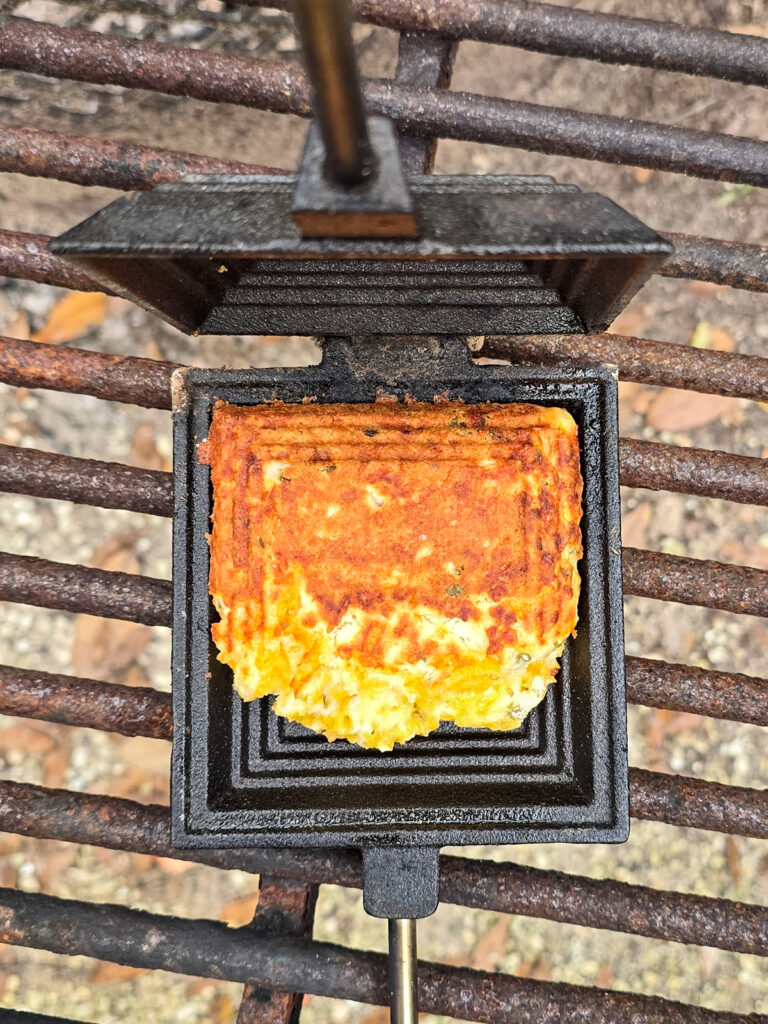
Controlling the Heat: Don’t lay your pie iron directly on glowing orange coals, as the bottom will scorch before the middle bakes through, especially with the cheese in the dough. Place it on a grate over medium heat or set it on ash-covered, dying embers. For this dough to cook through but stay golden on the outside and not burn, we need a little patience.
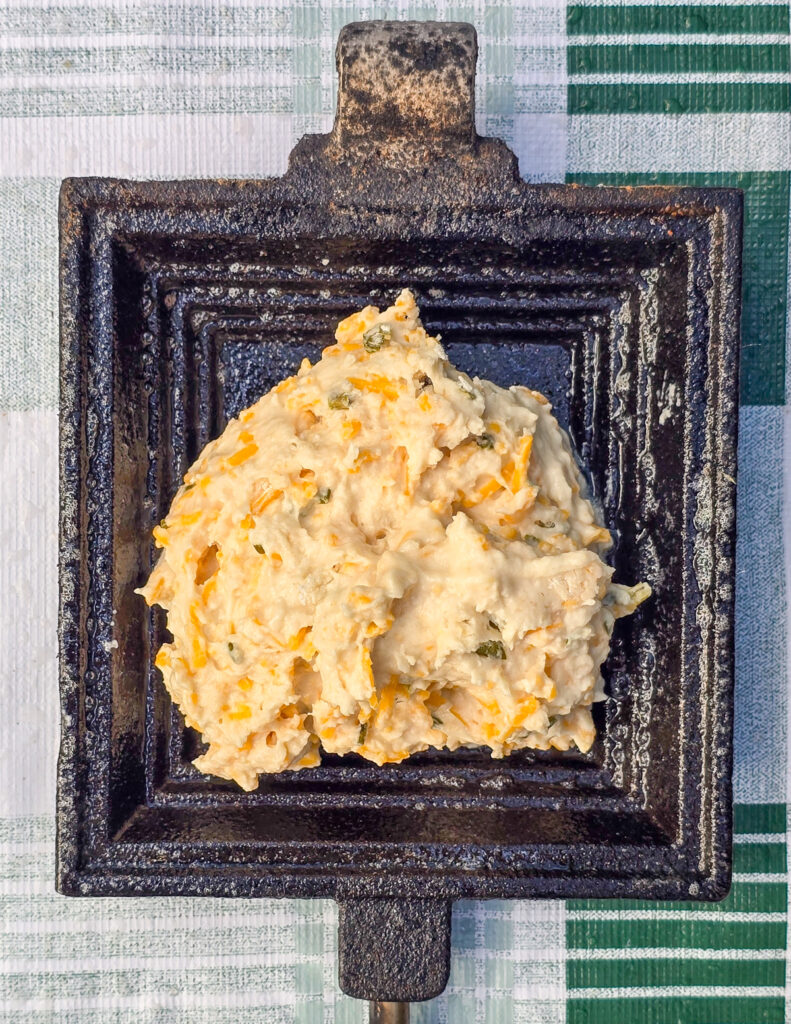
Grease Generously: Pie irons can be unforgiving with dough. Spray both internal cavities heavily with cooking spray or brush thoroughly with butter before adding the dough.
The Flip Technique: Flip the pie iron often – every 2-3 minutes. This keeps one side from burning while ensuring the internal temperature rises evenly to cook the core. Also, check for doneness to make sure one side doesn’t start burning.
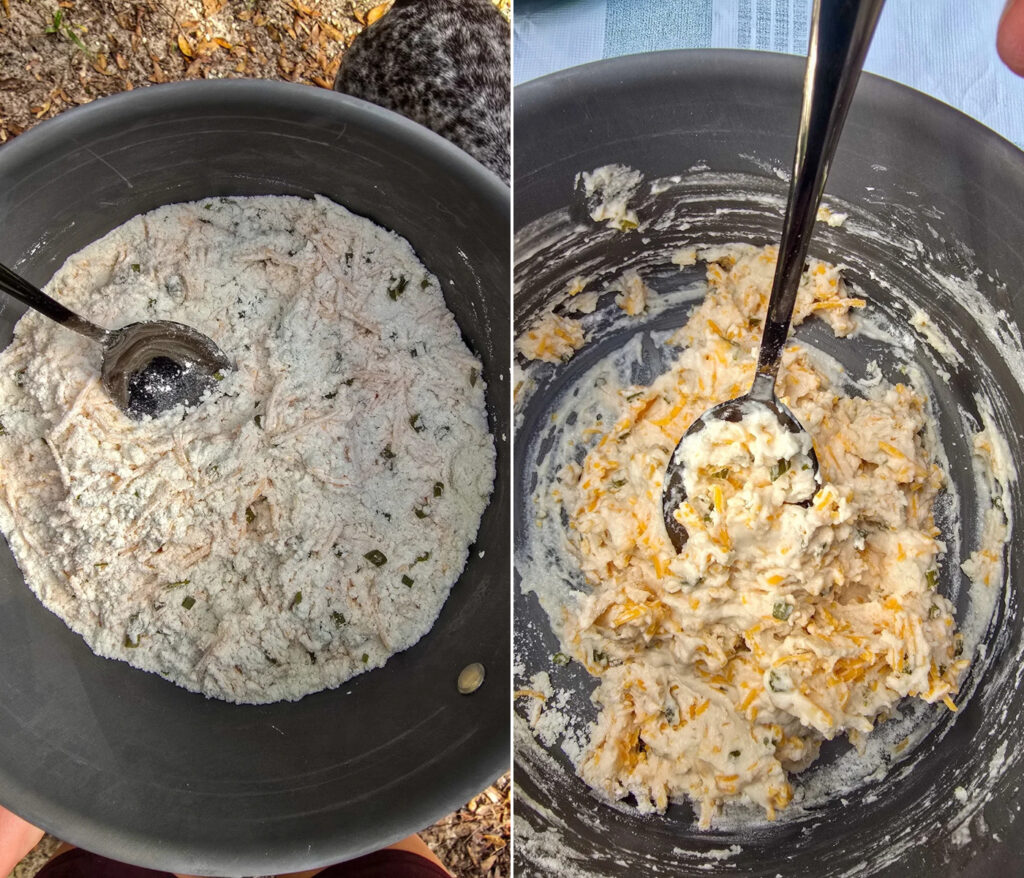
Liquid Control: Start with 3 tablespoons of liquid and add the rest only if needed. Campfire dough should be sticky but not runny sloppy.
Need help picking a pie iron? I’ve got you covered with this post explaining what pie irons I use for what purposes.
Swaps for the Road
The Liquid: Unsweetened canned evaporated milk, shelf-stable boxed milk, or reconstituted powdered milk work if you do not have fresh milk or cream on hand. Plain water works in a pinch too – in fact, that’s what I used on the occasion I took these photos.
The Cheese: Sharp cheddar and chives make the classic flavor combination, but shredded Gouda, Gruyère, or Monterey Jack are fantastic alternatives.
The Herbs: Freeze-dried chives store really well for camping and rehydrate well enough right in the dough. If you don’t have chives, green onion is the best substitute.
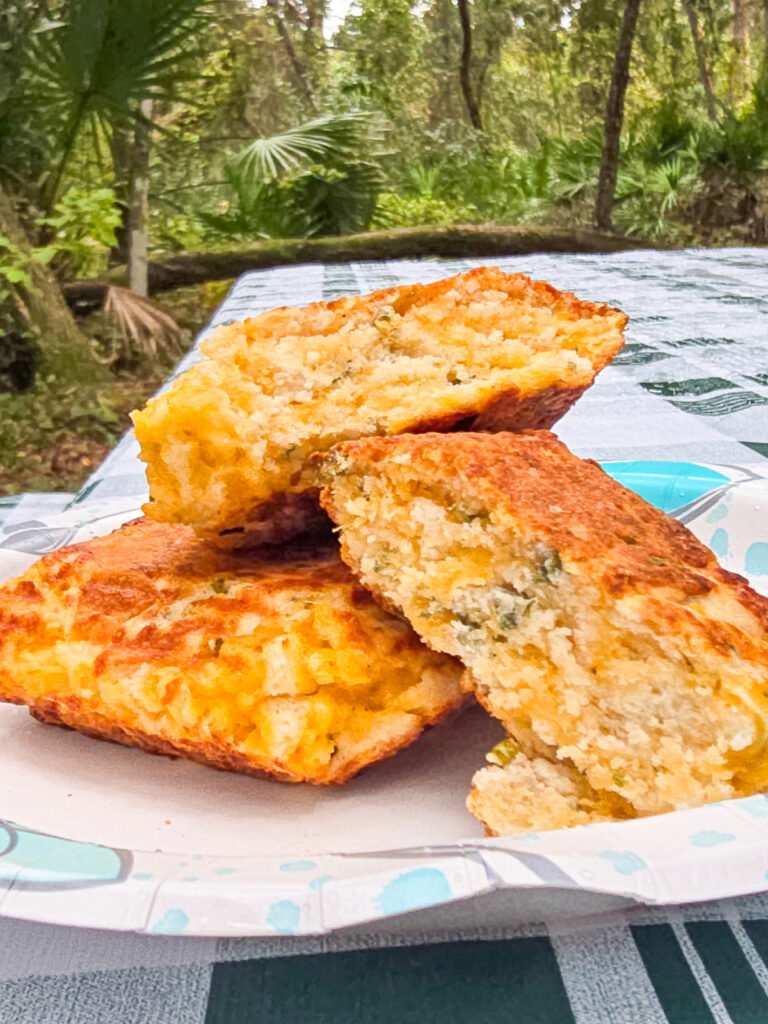
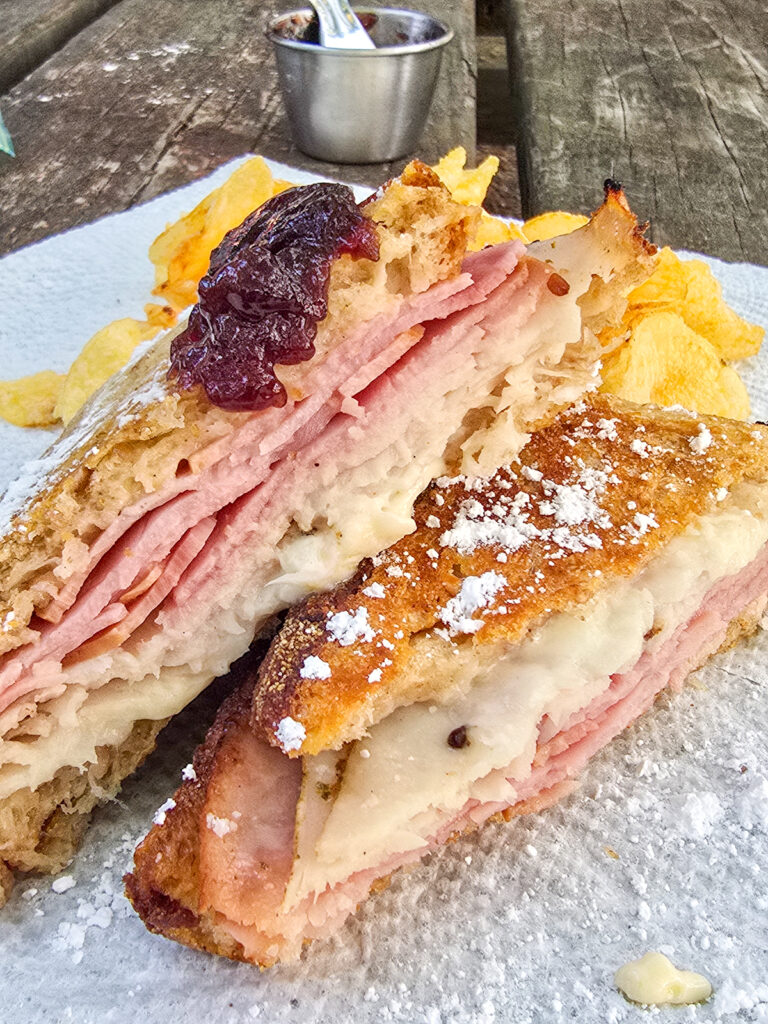
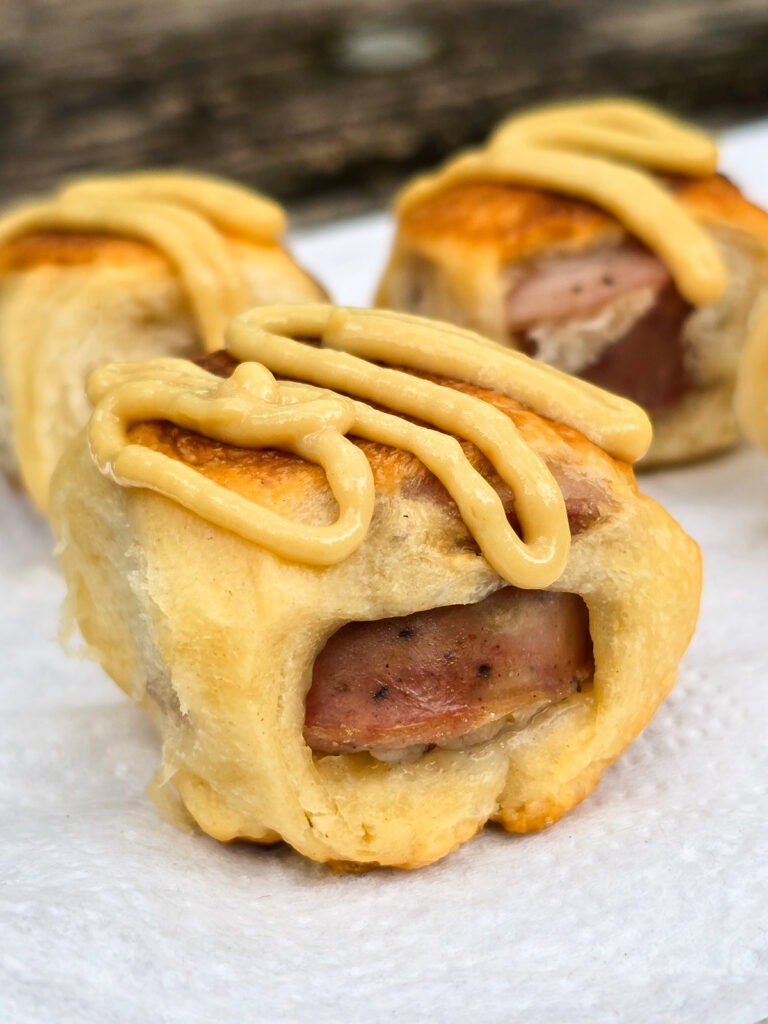
I love cooking with pie irons – they are my very favorite camp tool for cooking. You can check out all of my pie iron recipes here. My favorites are my Pie Iron Pigs in Blankets and my Pie Iron Monte Cristo.
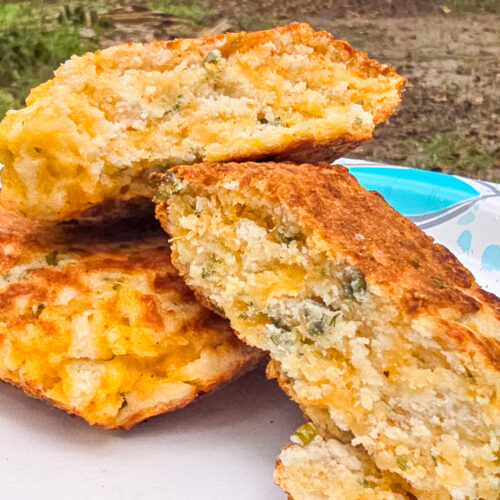
Pie Iron Cheddar Cheese and Chive Scones
Equipment
Ingredients
- 1 cup Bisquik baking mix
- 2 oz shredded sharp cheddar cheese
- 1 tbsp chives freeze-dried or fresh
- ~1/4 cup liquid water, milk, cream
- cooking spray
- butter optional
Instructions
Prep the coals and dough
- Prepare a fire to develop stable coals.
- Add Bisquick, cheese, and chives to a bowl and use a fork to combine. Add the liquid and stir until just combined.
- Generously spray both inside surfaces of the pie iron with cooking spray.
- Add half of the dough mixture to the pie iron. Latch the iron closed.
Cook the scones
- Set the pie iron over your fire grate or coals. Cook for 10 to 12 minutes total, flipping the iron every 2 to 3 minutes and carefully unlatching to check to make sure it doesn't burn.
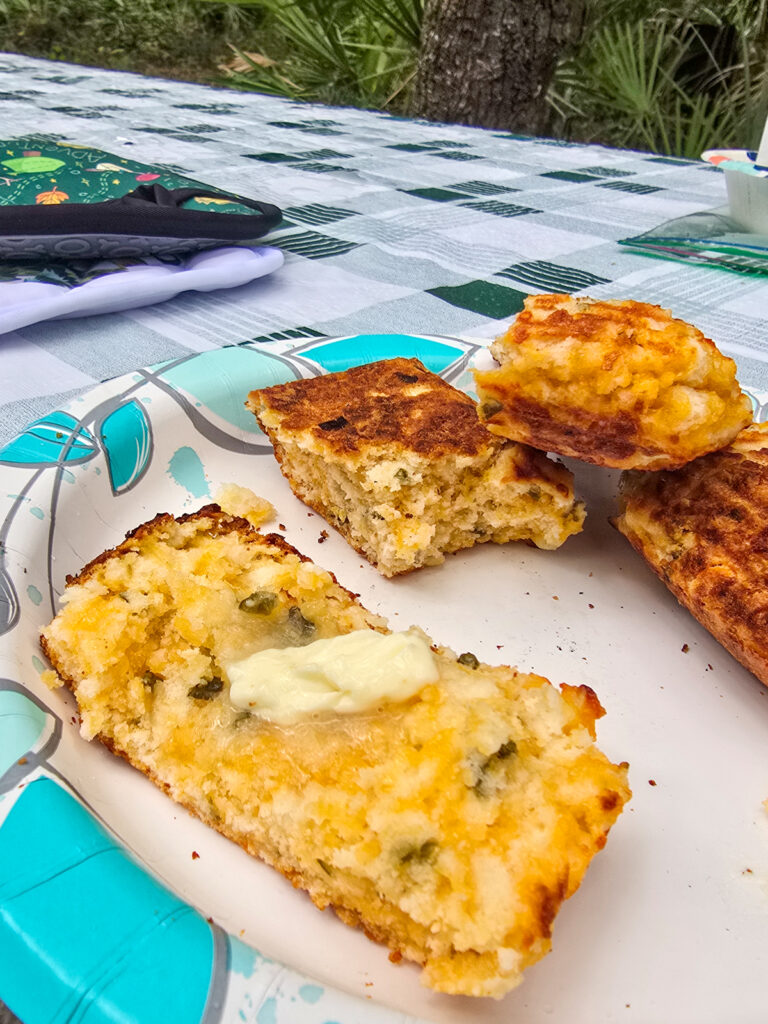
- Once both sides are deep golden-brown crust, slide the scone onto a plate, and let cool for 1-2 minutes before enjoying warm with butter (if desired).
- Repeat for a second scone with the remaining dough. Yields 2 scones.